Documentation - First Trial (A Hackathon)
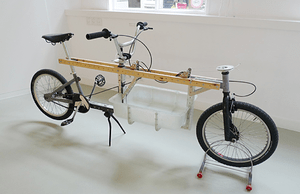
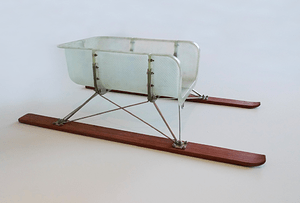
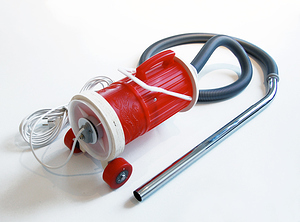
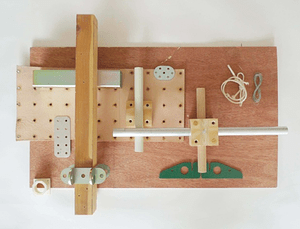
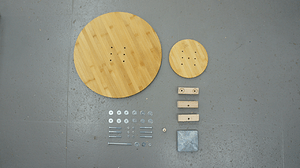
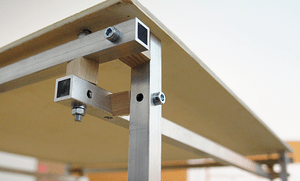
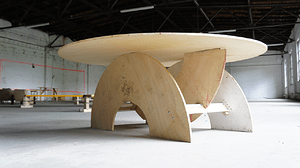
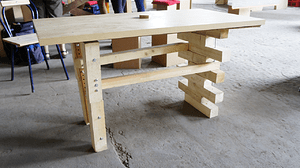
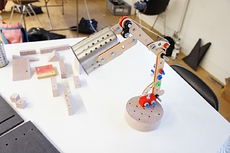
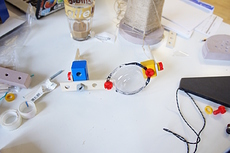
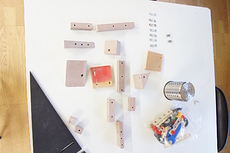
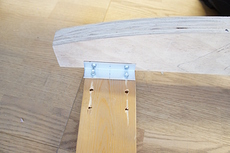
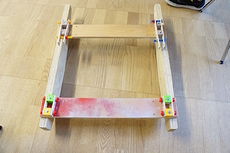
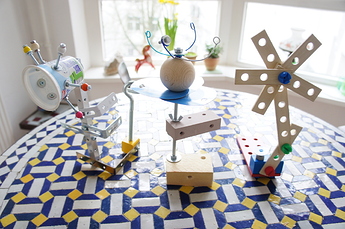
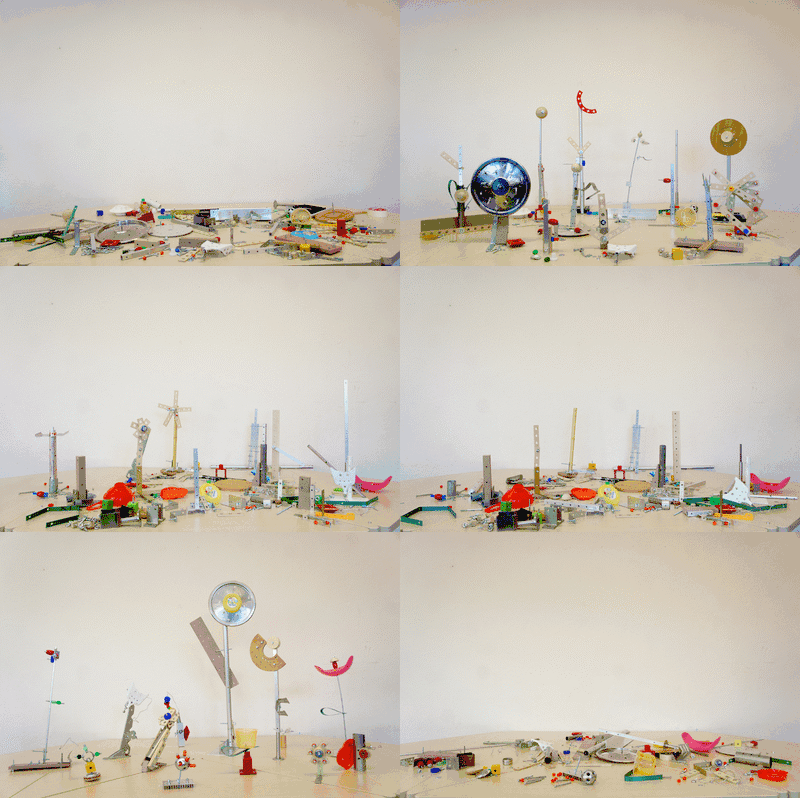
We ran a small trial of this with a group as part of a larger OSCEdays event/hackathon at the University in Schwäbisch Gmünd in November 2016. Below you can see some of the things we have build. And here is what we have learned so far for setting up a hackathon.
SUMMARY: A unprepared hackathon might not be the best way to start experimenting with a grid. But read on what we have learned:
First impressions from this trial
1 Basic Instructions At The Start: Set The Task.
1.1 Simple Design Guide Needed
Designing and working with the grid ist not easy. Usually people bring skills and working routines to a hackathon and use them to hack quick solutions. But a unified grid is questioning their skills and routines - don’t use screws, glues etc. How can you get people quickly into the grid without having them study long documentation first? Probably a quick design guide/challenge sheet with 10 bullet points as a basic documentation of working with a grid could be good.
DESIGN GUIDE
- Use only Nuts and Bolts to connect parts - No Screws but Nuts and Bolts
- Stay with all parts in the grid! Never leave it. Take one point and start to build at it.
-
1.2 ”Get Ready To Get Out Of Your Comfort Zone!”
Make sure people understand, that they will be kicked out here of their comfort zone! Make this a challenge - and the fun part - are we smart enough to manage this? You should start the hackathon with a talk (as hackathons usually do) where you set the challenge. One slide should say: “GET READY TO GET OUT OF YOUR COMFORT ZONE”.
1.3 Prepare People For Planning!
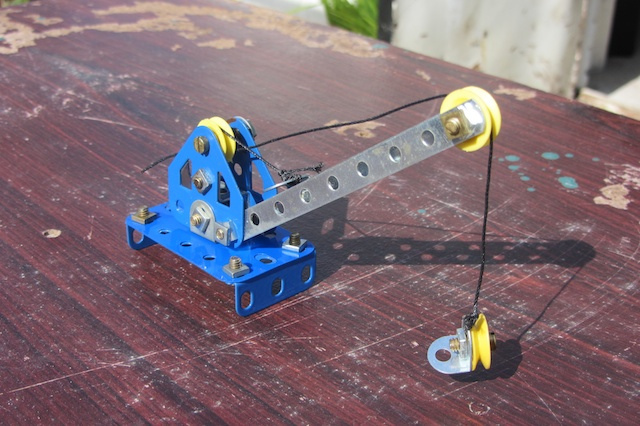
If you quickly hack something together it is trial and error. But when working with the grid a lot of planning is asked first. Communicate this to the participants. If you have some Meccano laying around this will help them with the planning.
If the participants are good with drawing they can draw quickly.
1.4 Have Parts Available
To make it easy or possible for people to get into the grid you should have parts available. If you don’t have a parts library you should order some Heros Constructor or have at least some Meccano or Eitech at hand to allow planning. Check the 3erlin Grid documentation for parts…
2 Where Start The Process? Idea vs. Materials vs. Basic Product?
There are 3 ways to start. We could not figure out, which one is the best. Take you pick. Also combinations are imaginable.
2.1 Start with an IDEA
Participants start with an idea what to build. From there they gather the materials. This comes with the advantage that people will for example from piles of old material only take the stuff they need and you’ll not end up with too much unused materials in the space when everything is over.
How to allow people to make ideas? You could have a furniture catalog laying around, you could ask what they need in their home, you could have even a simple task like: Every team is designing a table with one extra feature - so all the tables are different in their extra features.
2.2 Start from the MATERIALS
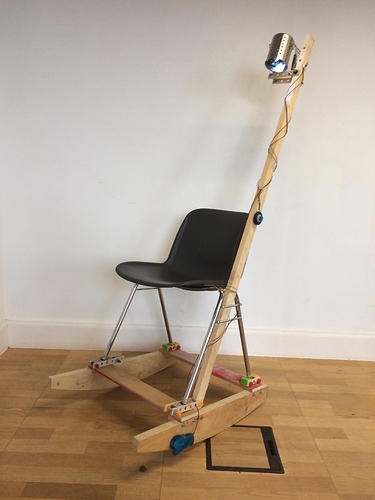
You can start with a collection of old materials. The old parts will inspire the people for what to build. This can be great for imagination (For example we found in Schwäbisch Gmünd the vats and Lea came up with the idea of rocking chair with the rocking movement powering a lamp) but if you don’t find really interesting materials your imagination and possibilities will be limited. Also: You have to bring a lot of the old materials to the space. Most of it will end up unused. You need a plan what to do with it afterwards.
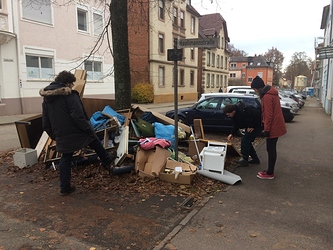
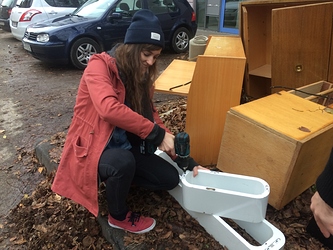
sourcing in the streets
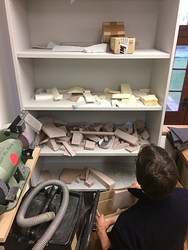
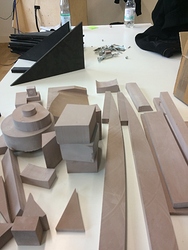
scraps from the university workshop
POSTER: 161124_Laborwoche_Hackaton.pdf (1.5 MB)
When we sourced materials in Schwäbisch Gmünd we found some old furniture in the street. One possible idea could be: Take an old piece of furniture and redesign it with the grid. Just change the connecting system.
2.3 Start with building a BASIC GRID PRODUCT
Another thing to build could be a basic peace of furniture - a stool or table or something else that already worked. In this case we would talk about a Workshop. In a first step people build the chair in a second they are invited to hack it and add new parts -> Develop it further.
A basic product like this is missing. It would be good if it had some basic design principles for the grid included - so you learn what to do with the grid before you start designing your own stuff.
Set of basic parts to produce with digital fabrication machines
At OSCEdays Berlin 2015 @cameralibre came up with the idea to have a basic set of Open Structures Parts to produce with machines available in a fablab. Usually people test the 3d printer, the CNC mill first with a little project before they start with serious projects. This little projects produce often garbage! Like a toothbrush stand, a Yoda head and so on. When there would be an OS part for every machine even the test would produce a useful result.
3 Supplies
3.1 Materials
We talked about materials above already. Depending on where you start - with an idea or the materials you will have different sourcing strategies. But you should have a little budget to buy extra parts missing.
Many materials don’t work well with a grid system and will produce cheap looking results. If it is a hackathon this is not necessarily a problem. But a good idea could be list of materials in the design guide. Or in the documentation of the 3erlin Grid or Open Structures.
Maybe a good way to start is to have one material for everything?
3.2 Tools
Make sure you have enough tools in your space. You’ll need drills (stand drilling machines are important) and saws at least. The tools should be easy to access and well equipped. But you can also laser cut, 3d print, CNC mill parts and so on.
3.3 Have Parts Available
As said above you should have some parts available to start to build with. In the 3erlin Grid documentation you can find a list of parts or areas where to look for parts.
3.4 SUPPLY RUN Every Morning
When you work during the day there will come up unexpected needs for other parts and materials. If the event goes on for several days you should announce that every morning someone goes to get the missing parts - a supply run is happening. So people can collect during the idea what they need and be sure they get it the next day.
3.5 Nuts & Bolts
You’ll need nuts in different length and sizes. Part of the fun of a hackathon is that it will produce unpredictable outcomes but this means that the demand for nuts and bolts is unpredictable upfront.
You can include shopping for nuts and bolts in your daily supply run.
But you could also have some basics already in the place. We recommend to pick just one standards size - for example M5. M5 is stable enough for most structures but still not to expensive. You could have some basis in the space like 50mm 25mm 65mm and 35mm. And for the rest you could have some threaded rods to produce the size you need.
If you have a fantastic collection of interesting nuts and bolts you could make them available to the participants for borrowing. Take them back later. (This is easy to communicate, because special nuts and bolts can quickly become pretty expensive). You could also sell them afterwards to the participants, if they really want to keep their designs. Maybe you can find another way to cover the expenses.
OK. That is what we have learned in our small trial. We will include this into the main ACTION protocol above soon.
But we are happy about feedback and more ideas from your side. There are many questions shared.

 (9)
(9)  (10)
(10)
 (6)
(6)