#Summary
This ACTION is about preparing and running a workshop on Open Source Business Models for Circular Economy using a tool made especially for that purpose – the Open Platform Design Flowchart. The whole ACTION needs a facilitator to invest around 10 hours of time.
Created by @Lars2i
![]()
#Introduction
If you discuss Open Source with inexperienced people it does not take long till you hear the question: ‘How to make money with Open Source?’ – ‘What are working Business Models for Open Source?’
Our culture spend the last centuries to develop effective ways for business with Closed Source. The Open Way wasn’t equally explored – mostly because of a lack of possibilities. Making extended information accessible to millions or even billions of people would have been incredibly expensive. So decentralized collaboration based on openness wasn’t really an option.
But with the internet these ‘collaboration costs have fallen through the floor’. And it is time to make use of it and develop the Open Way.
The Open Way is a bit different. But it is not a complete turn upside down. Many things common in business today will continue to work as usual. It is just a few questions and view points that change. This workshop is about asking those questions learning this view points.
The centre of the workshop is the Open Platform Design Flowchart – some kind of educational design thinking tool. As workshop facilitator you familiarize yourself with the tool before you will invite others to a workshop where you all will use it together to develop Open Source Business Model ideas. Results will be shared in forum for others to learn from.
![]()
#You Need For It
- Around 10 hours of time for the facilitator – 3 hours preparation, 3 hours marketing, 3 hours workshop runtime, 1 hour documentation
- The tool: The Open Platform Design Flowchart
- Workshop materials like large paper or boards, pens, post its.
- A space with a desk/desks to run the workshop.
- WiFi (if possible) + OSCEdays Etherpad Link
- A camera for photos
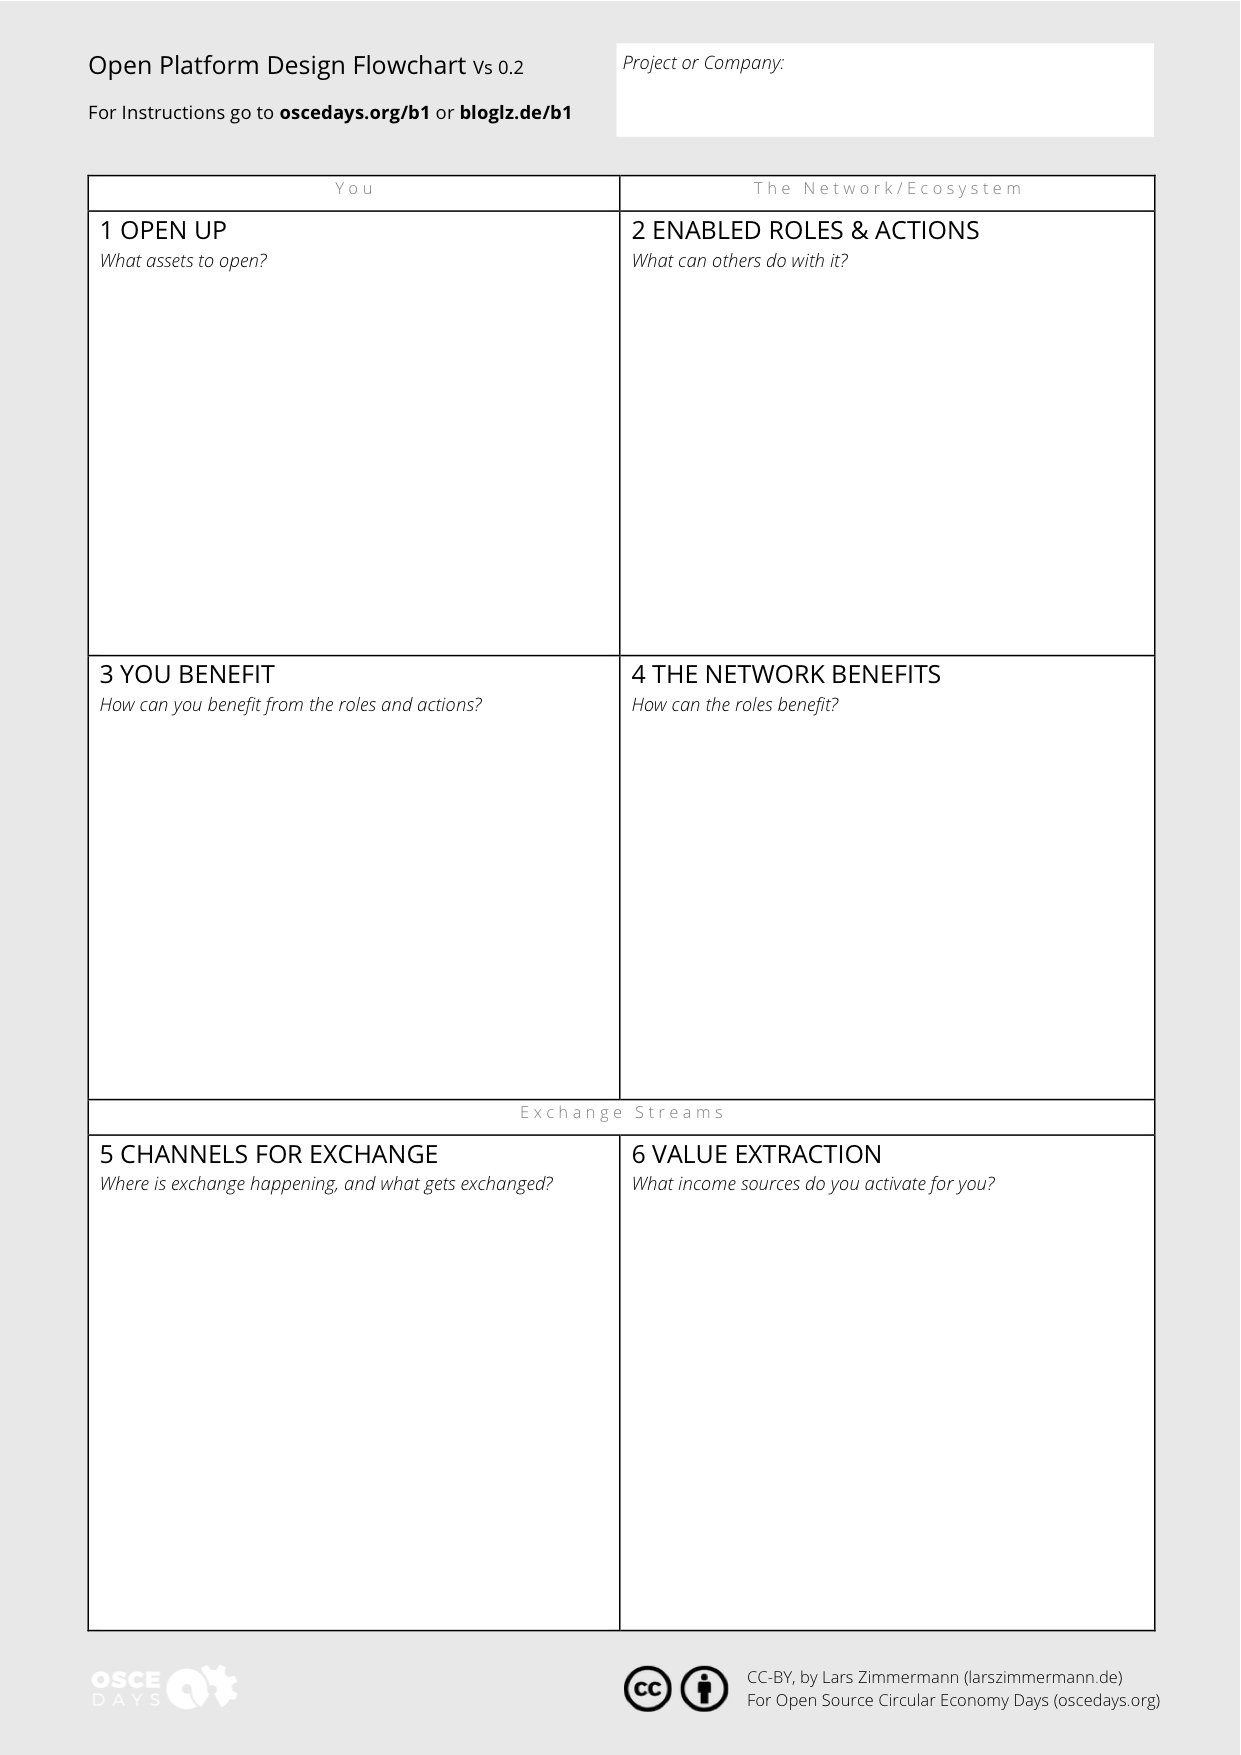
The Open Platform Design Flowchart (full tool + explanations)
![]()
#STEPS
Here are the 4 STEPS of this ACTION.
![]()
##Step 1 – Study The Open Platform Design Flowchart Resource
You as the workshop facilitator need to familiarize yourself with the Open Platform Design Flowchart tool first. There are 9 videos about it available and also a full transcript. The recommendation is to just watch the first video and read the script for the rest – this way you will be much quicker. In your workshop you will give the same talk in your version to the participants of the workshop.

Video 1 out of 9 explaining the tool
Document Already! The ACTION is also about developing the Open Platform Design Flowchart tool and workshop further. Your feedback to the tool is important.
(1) Do you have questions unanswered by the introduction and explanations of the tool? Ask them in the comments under the tool. They will be answered there and other people can learn from them too.
(2) Do you know things that should be included into the explanations of the tool. Please share them in the comments under the tool.
Thanks
_
![]()
##Step 2 – Invite People To The Workshop – Advertise It
When you made the decision to run the workshop and have a date for it you need to advertise it.
Please leave a note below in the comments here and say that you will run a workshop – where and when.
Do you run the workshop as part of a local OSCEdays event in your city? Add it to the event program. Is the workshop the only planned activity yet? Think about adding it to the OSCEdays calendar by signing it up as a local event.
What else can you do to advertise your workshop and invite people? Here is a forum topic with answers: BUILD A LOCAL COMMUNITY – How To Gather People
You can use a version of the text in the grey box to advertise the workshop:
_
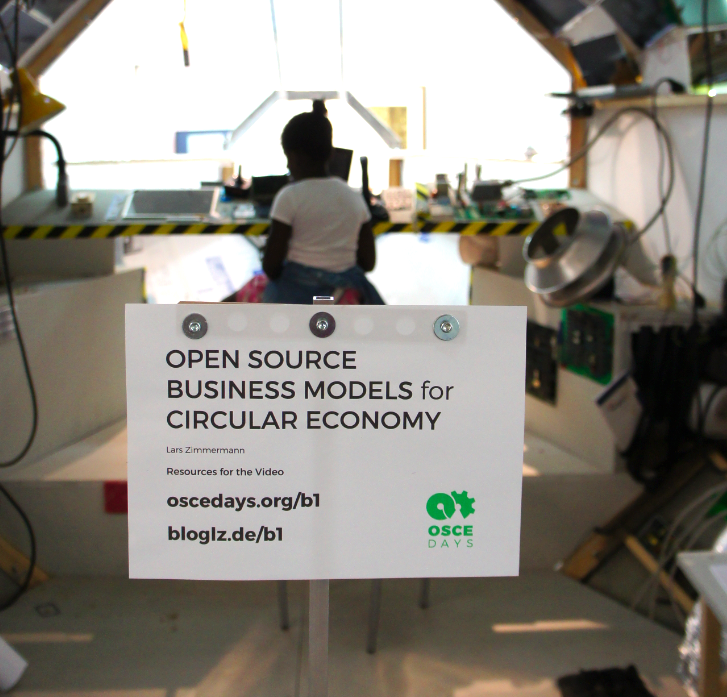
####Open Source Business Models For Circular Economy (Workshop, 3 hours)
With: ADD YOUR NAME, On: ADD DATE & TIME
What is Open Source and how to make money with it? What are working open source business models we can use to build circular economy businesses? In this workshop we will talk about this. We will work with a design thinking tool especially made for this – The Open Platform Design Flowchart – and reinvent or re envision your or any project, start up, idea, company or product as Open Source business.
IMAGES - use the image above or one of this if you like:

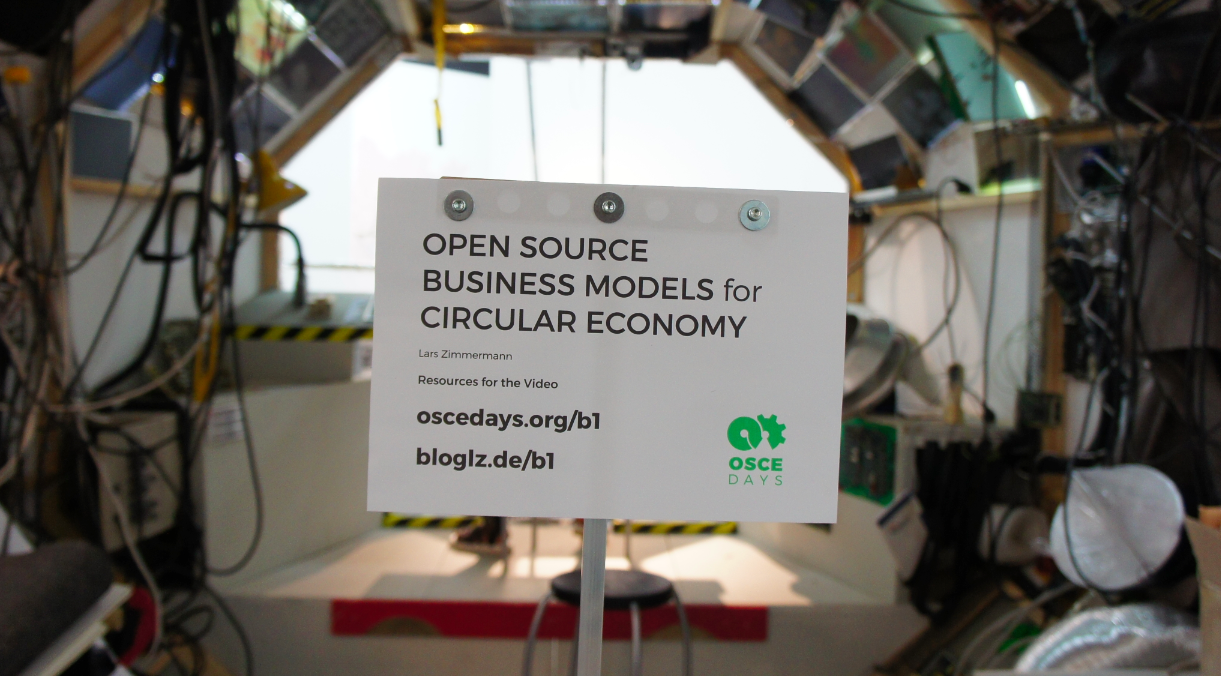
(If you use the image to advertise a workshop you don’t need to give credits for the Image)
_
![]()
##Step 3 – Run The Workshop
You can run the workshop with a group of 3 to 30 people – maybe even more. 3 hours should do. But you can also shrink it down a bit or make it longer. I (@Lars2i) describe below how I give/gave the workshop and found it to work. I suggest that you use the same or similar structure. But of course you can also modify it to your needs and experience.
![]()
###(1) PREPARATION Of Space & Materials
Set up these things at the space before your participants arrive.
-
Desks – Desks for the participants to work on in small groups after the introduction.
-
Workshop Materials – post its, large paper or boards, pens and a camera. Prepare one large version of the empty Flowchart Tool to show or use during the talk. (See below in Stage 3).
-
Ether Pad – Set up an ether pad for the workshop at the at the OSCEdays ether pad. An etherpad is a collaborative online text document that everyone with the link can enter and immediately edit. You will use this ether pad for ongoing documentation during the workshop. Write down the link to the pad on a piece of paper and hang on the wall so people can access the pad.
-
Talk – Prepare the talk and the infrastructure/materials you need for it (see Stage 3)

###(2) Start The Workshop With An INTRODUCTION Round
Start with a simple introduction of yourself and than announce the structure of the workshop:
(i) Introduction Round
(ii) Presentation Of The Tool Including Discussions (60-90 min)
(iii) Work In Small Groups To Develop Business Models (45-60 min)
(iv) Presentation Of Results
Show the people the link to the pad and explain them that we all can/will use it to document the workshop – its results and open questions – while it is happening.
Feel free to let the people know that you are no expert as well but studied some resources in preparation of the workshop. But that there might come up questions you can’t answer either and we can then discuss together.
After this invite the people to a proper introduction round. Ask the people to say their name and background and already share their idea, start up or whatever they brought to work with. The introduction round should not take too long. If you have less than 10 people each one can easily talk for a minute. If there are more they should have less time. Remember: As a workshop facilitator it is your responsibility to protect the time of your participants – make sure it is not wasted.
![]()
###(3) The TALK
After the introduction you can dive directly into the tool – your talk. Basically you can give the same talk as I do in the videos. But choose your own style or make modifications.
When I give this talk I usually sit with the participants on a large desk and don’t use a beamer. But I have a lap top next to me where I can have a look into the script here and there and show some images I look up with them on the internet – for example of Arduino Shields. I leave enough room in the group for questions and discussions. And I filter the information: I don’t explain everything that is explained in the videos.
On the desk I usually have a large paper version of the Tool that is empty. While I explain the tool I add post its to it with a hypothetical example of a desk manufacturer. This makes it easier for people to understand the tool and how to use it in the group work later.
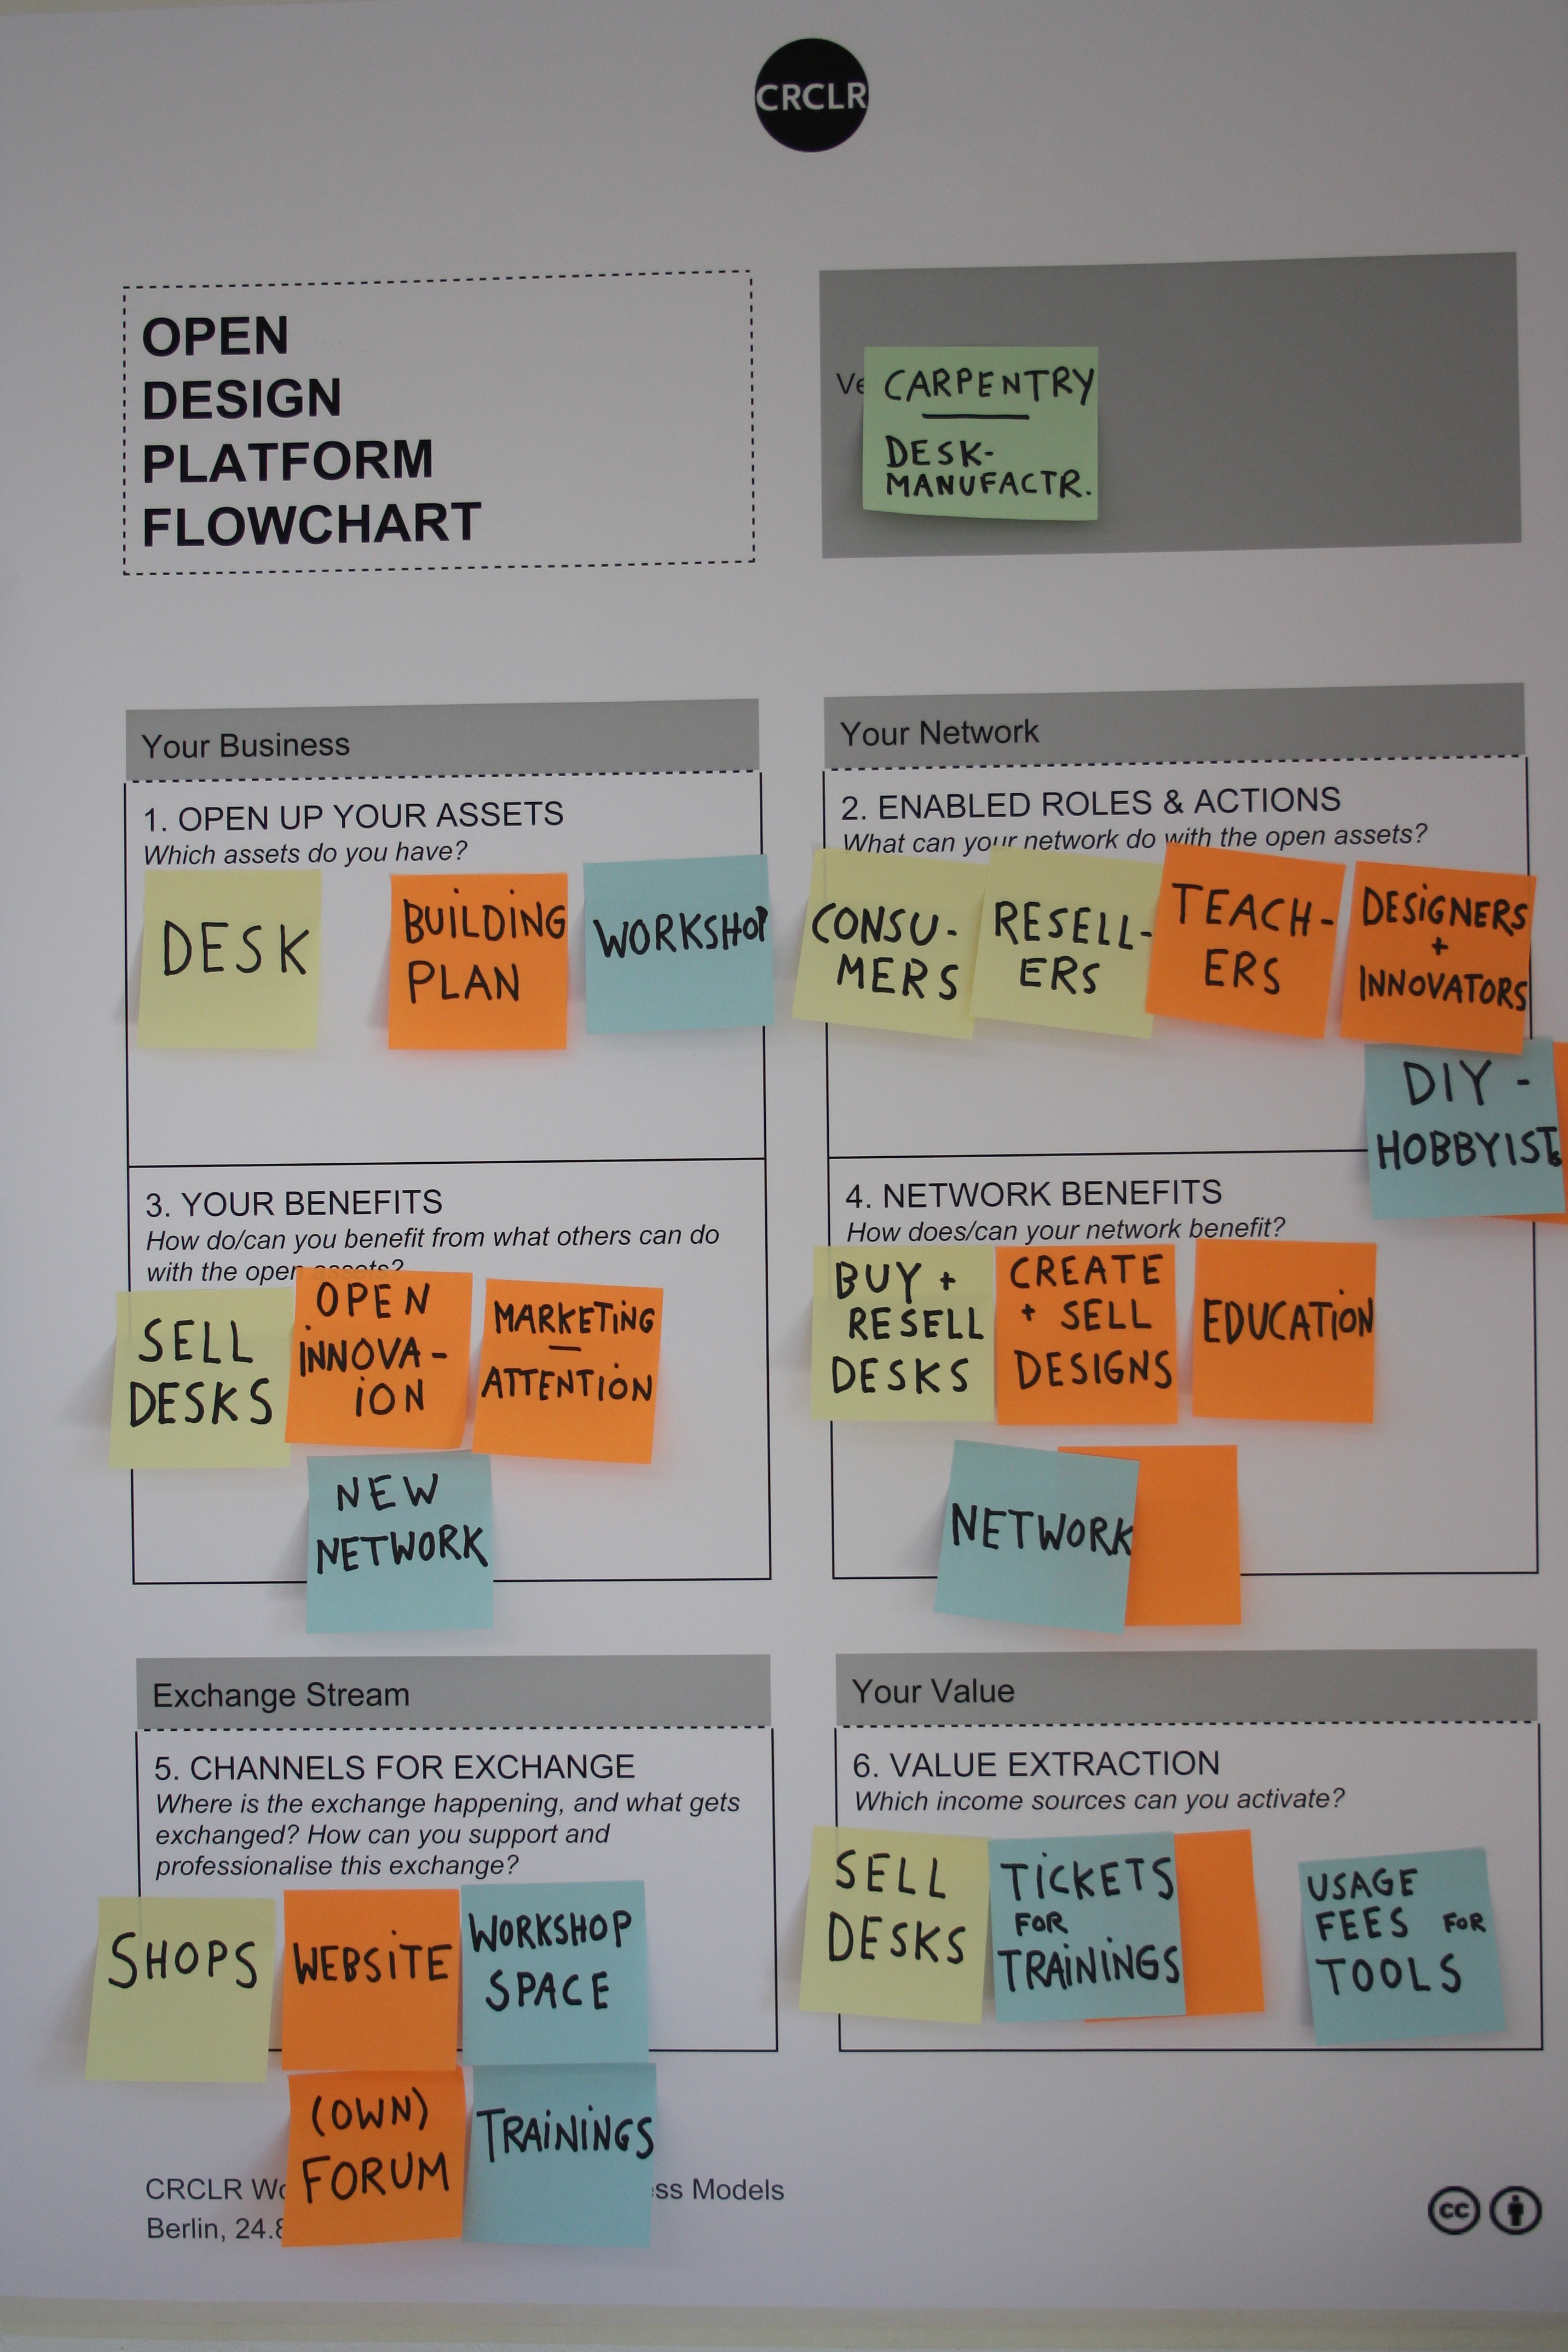
Example Carpentry. Each asset unfolds a new story/new possibilities marked by a color
When I gave the talks they were longer than 60 minutes. Sometimes even close to 90. And it worked. Long talks can be problematic. But they can also work – in universities we are used to listen to professors for 90 minutes as well. Feel how the attention is in your group and shorten the talk if necessary. If the attention drops you can also try to make the talk more interactive: Ask people questions, engage in discussions and so on.
This is how I do it. But feel free to come up with your own way. Maybe you want to use a beamer? Or prepare slides? You can also think about showing the videos – all 9 of them – but I don’t recommend this! The sound on many of them isn’t great. And it will be hard for people to sit at an event and watch videos (not interactive) with just one guy talking for 90 minutes.
Document Open Questions! If you find open questions you can’t solve document them in the pad so you can ask them later in the forum.
![]()
###(4) Work In GROUPS
After the talk let them split into groups to work on their ideas. Groups can be between 2 – 5 people. Give them materials – paper and post its – and 40 to 60 minutes time.
Visit them from time to time to answer questions. Use one of your visits to let them know that they have to announce a documentation person in the group who will document the presentation of another group. Usually this should be someone who is good at typing.
If you as the facilitator have free time while they work you can use it to work already a bit on the documentation of the workshop – sort out the open questions that came up during the presentation phase.
![]()
###(5) PRESENTATION Phase
Gather them all into one spot for the presentation phase and let the groups present their work to each other.
But first ask who is the documentation person of each group. Every time a new groups start to present make the documentation person of another group document what is presented. Give them a lap top and write into the ether pad – if they have brought their own this is even better. If you don’t have WiFi at the venue and can’t use a pad let them write on paper and ask them for the paper afterwards.
When the groups are presenting make them hang their flowchart on a wall or put on a table for everyone to look at. Take a picture with your camera of each flowchart after the presentation is finished.
When the presentations are done ask them for feedback on the workshop and then say good bye, celebrate with them.
Your participants are done. For you is only left to upload some documentation of the workshop. If you have free time at the event itself I highly recommend to do it right after the workshop! You will be much quicker then and it is hard to do it at another day. Documentation is short – just see in the next step.
_
![]()
##Step 4 – Final Step: Documentation
Last thing to do is documentation. This step is important, don’t miss it. Your documentation makes you visible as someone with experience giving this workshop and might help you to get connections and collaborations because of this. It also helps others to learn from your experience.
As said above: The best moment for the documentation is probably right after the workshop has ended. So you still have the motivation and everything is fresh in your head. This is what is necessary for the documentation:
-
Upload Images from the camera you took during the workshop into the forum. You can just drag and drop them into a comment below – after you resized them, the forum allows uploads up to 2mb. Pick one Image for each filled out flowchart. Not more! - Some examples are here in the comments
-
Add the link to the pad you used during the workshop
-
If you feel like it write some comments between the pictures and also about the questions that came up in the workshop and the feedback you received after the workshop. Everything that can help others to run the workshop, develop own ideas, or improve the Open Platform Design Flowchart resource.
–
Thanks For Playing ![]()
![]()
###More Resources on Open Source Business Models
- Open Source Business Models - Full Chapter from the book ‘Building Open Source Hardware’
- Slideshare by Benjamin Tinq: Business Models for Open Source Hardware
- A classic: Kevin Kelly – Better Than Free
- Way to much but Michel Bauwens collects sources about the subject in the P2P Wiki for years now
- Related: The circular design canvas